I am starting to prep for reviewing my students for the required curriculum in my district. One of the things they require is for students to know the location (and I taught capitals) of all the Spanish-speaking countries. So…
Here are a few for you to have!
Yes, I realize that México is not part of “Central America,” but this is the way I had to teach it for curriculum in my district. Below, you will find another.
Since Central America is not a continent, you could also use the one below if you prefer.
Hope they help make an easy addition to your final reviews if this is part of your content! I also added this to Schoology as a “Drag and Drop” assessment and it was a hit!
I have my students glue these into their interactive notebooks, and we work on them throughout the year. They color in the country and label it as we learn about that country. I generally do Central America in the fall and South America and the others in the spring. This, again, is because it is expected in our district.
Hope having these helps you not to have to create another map.
Happy Teaching!
Alana
You can go HERE and learn more about the SraKSpanish squads! Join today!
Okay, so I am not sure about where YOU teach, but down here in Texas there is a BIG push for us to get the kids doing more interpersonal and presentational speaking. And, of course, writing to get them ready for that AP exam. It seems to me that kids don’t get excited about too much in class, so when I find something they like, I RUN with it!
So, I was using some random pics of Mark Wahlberg as conversation starters the week before spring break. Why Mark Wahlberg, you ask? Well, my students would tell you I have an obsession. LOL. I figure, if I HAVE to find some pictures to talk about and do that all day, they may as well be something I like looking at. (My students even made an IG account a few years ago where they edit pics of Mark and I together, and they have been passing the torch over the years). Anyway, I digress…
So, I decided to make some that hit the cycles of instruction I use from the Stepping Stones materials. I also have required vocabulary I have to teach, so this has worked out perfectly. It allows for personalized learning because I can evaluate the output according to level.
I have used them by printing them with the pic on the front and the prompts on the back. There are LOTS of ways to use these!
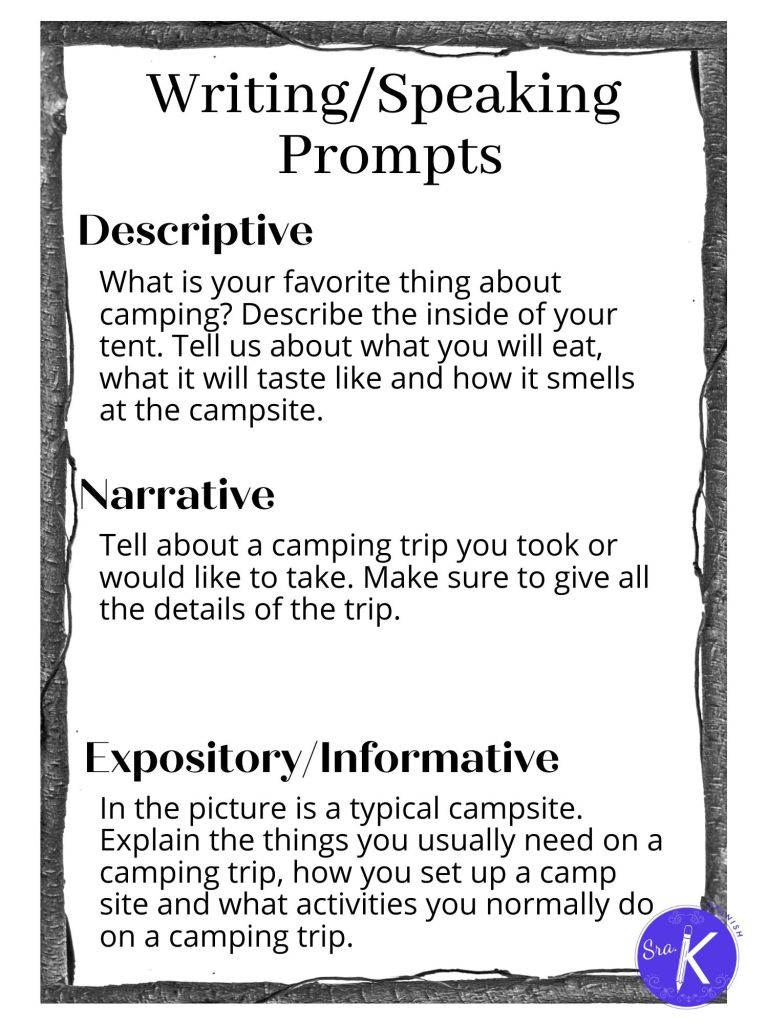
For Interpersonal Speaking, I hand out a card to each pair of students in my class and then I have them choose one of the prompts on the back. I give them about 90 seconds to collect their thoughts and then I have them start by using the prompt to give some info and ask some questions. The partner has to look at the picture (provides scaffolding) and talk about it with their partner.
For Presentational Speaking or Writing, I give a card to each student. For this one, I told them which prompt they had to use, gave them a couple minutes to prep and then got them talking ( or writing).
You can use any pics you want. I have more of them for sale in my TpT store HERE.
It seems that ever since we went virtual out of necessity at the start of the pandemic, we have made most things digital. That is okay for lots of things, but I find more and more that kids are burnt out on technology. That may not be true for your students in your teaching context, but it is my reality right now. So, how can I address this tech fatigue??
One thing I did a few weeks ago was play the old game “Dots and Boxes.” I wasn’t sure how it would go. To be honest, I had a back-up Gimkit game all loaded and ready to go just in case. Much to my surprise, it was a HUGE hit!
The digital version of this can be found on my TpT store.
So, what did I do? Well, I reached back into my archive of worksheets that would review the concepts we needed for the assessment. Some were reading worksheets with questions about the reading (reading). Some were fill in the blank worksheets with targeted vocab and grammar required by my district (writing). Some were questions that had to be answered aloud (speaking). Some were based on a podcast and/or video they had to watch and listen to in order to answer the question. I briefly explained each page (I gave them 5) and then explained the game like this:
First, you start with a blank grid of dots.
Then, you allow one person to connect two dots to make one line.
Then, the next person must connect two dots, making a line.
This continues until there are are enough to make a box.
If you draw the 4th line that closes the box, you get to put your initials in that box.
This continues until all boxes have been made.
The winner is the one with the MOST boxes with initials.
The dots that you draw can be on your whiteboard or you can project the image above.
So, you have the worksheets, you have the grid…how do you put it all together? Great question! What I did was first project the image above on my board. Then, I passed out a packet of the worksheets. I sat in a central part of my classroom where I could watch what was happening and I got a self-inking stamp (this will save your initials a million times in one day). Once students finished a couple of questions, they could come to me to check. I told them they had to have 5 questions completed on the worksheets or have one of the speaking prompts ready to go. If they were all correct, they got a stamp on their paper (made grading easier when I chose which one to grade) and they got to go draw a line. They could NOT draw a line until they were all correct. If even one was incorrect, I sent them back. This infuriated some, as I wouldn’t tell them which was incorrect. It made for some great group work though! They were ALL engaged and trying to win another line!
It was fun, engaging and they learned and problem-solved a LOT! Win-win.
I hope this helps with some ideas for teaching these required vocabulary sets and/or topics while keeping lessons focused on communication!
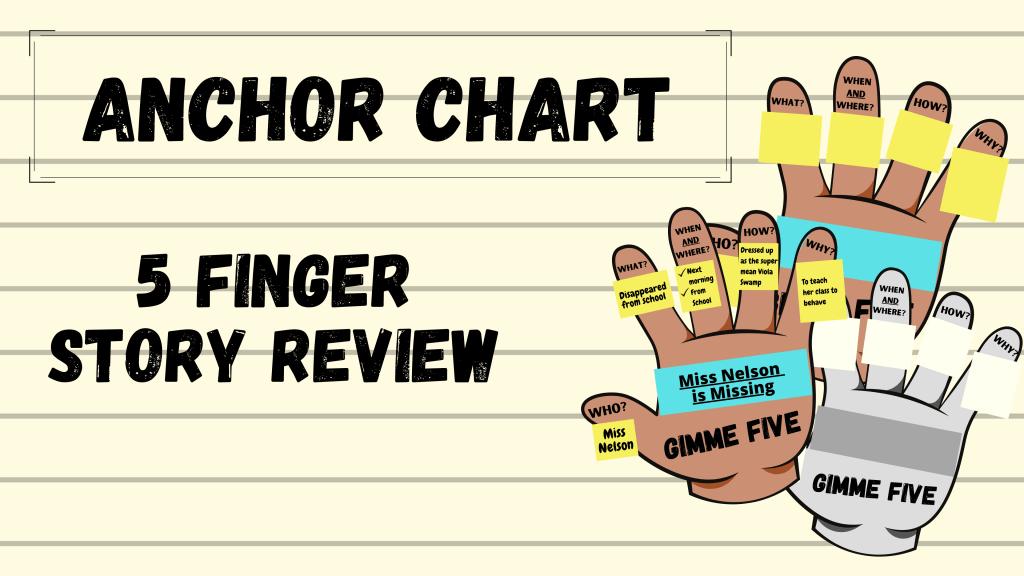
I am currently teaching in the Narration Cycle of the instructional framework. I have been telling a new story every week, and needed a new way to review the stories and get my students writing. So, I took a step back into my days teaching language arts and pulled out this classic review strategy.
It is the 5 finger review! I wanted a fresh way to summarize the story and get my students writing, not just listening to the story. I found my students really needed a way to organize their thoughts, so I drew a hand on the board. After that class, I realized it would have been great to have allowed my students to use this as a graphic organizer WHILE I was telling the story, not just after. It would also have been great to have a digital version I could have created with students. On top of that, I am just a REALLY bad artist. LOL. I mean, epically bad. So bad that my students end up having a running joke about some drawing I have tried to make at some point during the year. It is just one of those things about teaching with CI…you have to draw.
Anyway, after doing the notes that go on each finger, you can use those points to write a great summary. It worked out well, so I wanted to share! You can download the color English version HERE. The Spanish and English versions in both color and printable black and white can be found in my TpT store, linked below.
So, everyone knows teaching required vocabulary can be dry and SUPER boring for students AND their teachers. I posted earlier in THIS post about one way I was working through some vocabulary required by my district in a more engaging way and incorporating listening and speaking.
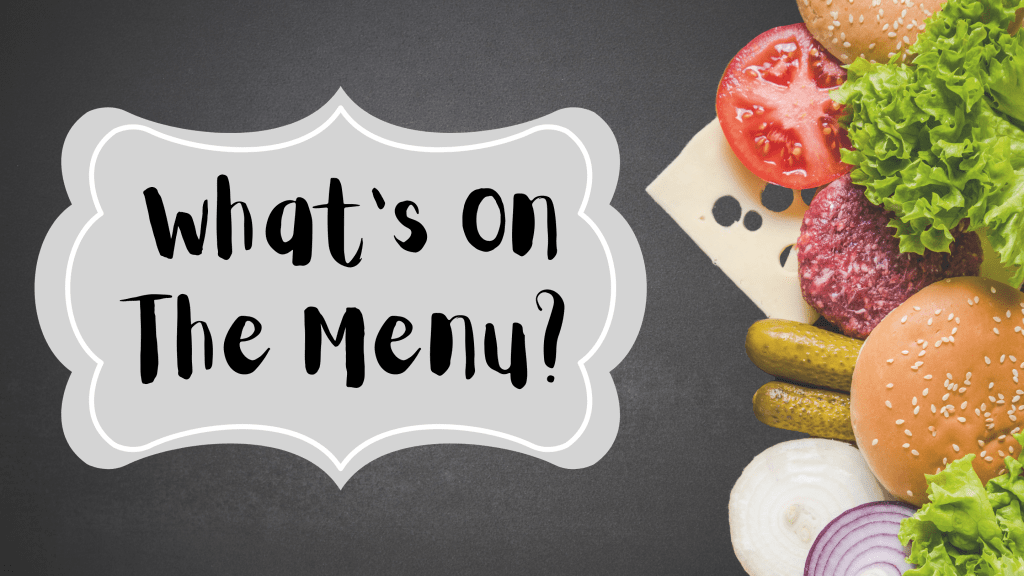
Well, I am teaching some restaurant-related vocabulary now and decided to do the same kind of activity since it was super popular last time. So, HERE is the activity I call, “What’s on the Menu?” I have included some common foods you would find at restaurants, but it is super easy to insert your own too! I hope this helps some of you make this a less painful vocabulary lesson! Remember, if YOU enjoy the activity, they will too!!!
I hope this helps with some ideas for teaching these required vocabulary sets and/or topics while keeping lessons focused on communication!
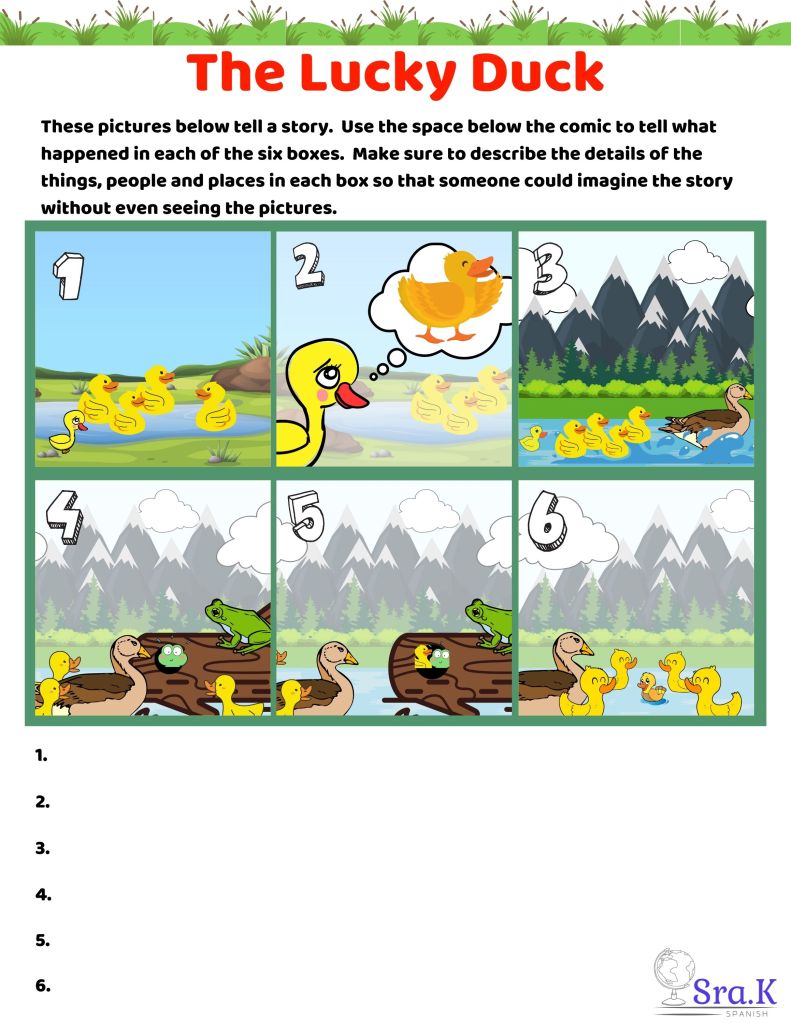
It’s the “lucky” time of year with St. Patrick’s Day just around the corner! So, it is a perfect time to use this Cartoon Story to engage your learners.
You can use this story to help students tell a short visual story aloud OR have them write what they think each box is about.
You could have students make it up in groups or with a partner and have them share with the class.
You could cut up the pictures and place them around the room and have students add a sentence below each picture on a Gallery Walk.
You could make a listening activity and mix up the pictures, then allow students to work on putting them in order according to the story they hear you tell.
Honestly, this has SO many variations! Have fun telling these LUCKY stories! Share what your students come up with in the comments!
There are also two stories with Story Scripts on my TpT store HERE if you are interested in a companion story and possible script.
I hope this helps with some ideas for teaching these required vocabulary sets and/or topics while keeping lessons focused on communication!
In my years in education I have learned there is power in using Graphic Organizers. This is true for ALL subject matter in ALL grade levels. I have taught elementary, middle, high school and college, and … graphic organizers were one of the BEST tools I had at my disposal at all levels. I have taught Social Studies, Math, Reading, ESOL, Bilingual, Dual Language and even Science. Guess what? … You guessed it! Graphic Organizers for the win!
They are POWERFUL because they help students see the information in a different way. We all know “chunking” works for struggling students, but it also works for ALL students. By giving students information in an “organized” structure, we allow them all to process the information at their own pace and store it visually. I have yet to find a lesson or concept that is not supported by a Graphic Organizer.
Now I teach Spanish and ESOL at middle school. One thing I do in both classes is tell stories. Kids are always super engaged with Visual Stories! (If you haven’t tried it, you should!) One great way to process the story after is to use a Graphic Organizer. Below, you will see a classic, and one of my favorites:
There are others (you can find some on my TpT store if you need some variety or want these in Spanish) you can use for a simple Story Retell, but this one is super simple. You can make this into an Anchor Chart that you create on poster paper or the white board during class.
In this digital age, it is even easier to share this with students. So, I made a Google Slides presentation you can either use WITH your students or share with them so they can fill it out on their own. Of course, the good ole printable version is HERE. Hope this is a helpful reminder for everyone about how amazing Graphic Organizers can be in your classroom!
Happy Teaching!
Alana
Find me on Instagram (@SraKSpanish) and Follow my TpT store as I build more resources!
Ok, it has been a while, but I am excited to share this easy, fun resource for all! EMOJI Stories!
It was inspired by Cycle 2 Phase 1 of the Stepping Stones Curricular Framework. HERE is the link. The instructions are on slide 2, but they are editable so you can level this up or down.
How do I use it? I had my students follow the instructions. For level 2, just the emojis. For upper levels and my heritage classes, I had them write in the speaker notes. Then, I randomly chose one and started telling a story using a story mountain. We used just a basic Story Mountain (setting/characters, rising action, problem, falling action, solution). The stories were HILARIOUS, engaging and we were able to make some memories together much like when we create OWIs in the classroom. I had so much fun and so did they! They are begging to do it again, which I take as a great sign. :-).
Happy teaching!
Follow this blog for more great, free resources! Find me on Instagram (@SraKSpanish) and Follow my TpT store as I build more resources!