Beat Technology Fatigue! No Tech Required…

It seems that ever since we went virtual out of necessity at the start of the pandemic, we have made most things digital. That is okay for lots of things, but I find more and more that kids are burnt out on technology. That may not be true for your students in your teaching context, but it is my reality right now. So, how can I address this tech fatigue??

One thing I did a few weeks ago was play the old game “Dots and Boxes.” I wasn’t sure how it would go. To be honest, I had a back-up Gimkit game all loaded and ready to go just in case. Much to my surprise, it was a HUGE hit!

The digital version of this can be found on my TpT store.

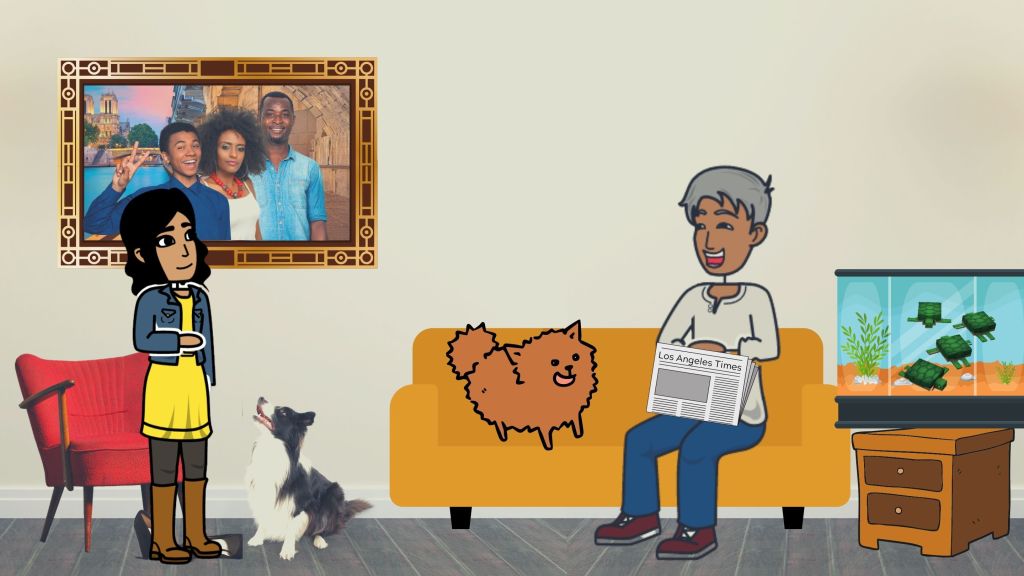
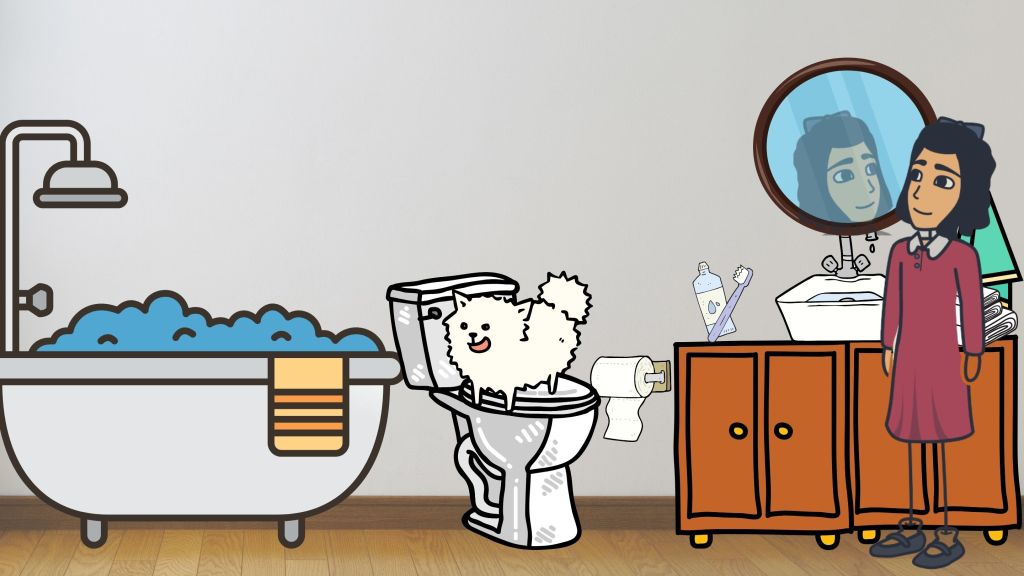
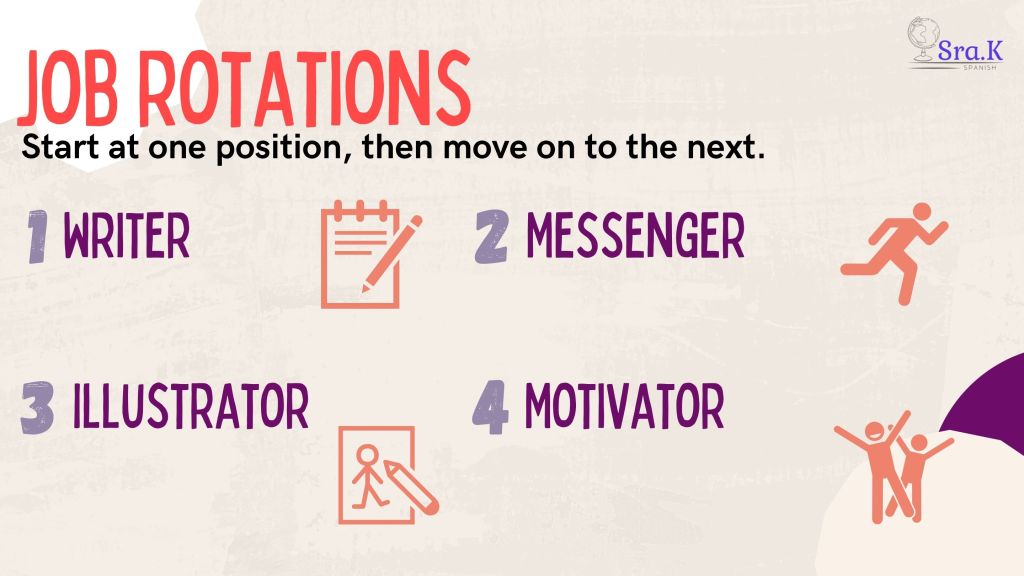
So, what did I do? Well, I reached back into my archive of worksheets that would review the concepts we needed for the assessment. Some were reading worksheets with questions about the reading (reading). Some were fill in the blank worksheets with targeted vocab and grammar required by my district (writing). Some were questions that had to be answered aloud (speaking). Some were based on a podcast and/or video they had to watch and listen to in order to answer the question. I briefly explained each page (I gave them 5) and then explained the game like this:

First, you start with a blank grid of dots.

Then, you allow one person to connect two dots to make one line.

Then, the next person must connect two dots, making a line.

This continues until there are are enough to make a box.

If you draw the 4th line that closes the box, you get to put your initials in that box.

This continues until all boxes have been made.

The winner is the one with the MOST boxes with initials.

The dots that you draw can be on your whiteboard or you can project the image above.

So, you have the worksheets, you have the grid…how do you put it all together? Great question! What I did was first project the image above on my board. Then, I passed out a packet of the worksheets. I sat in a central part of my classroom where I could watch what was happening and I got a self-inking stamp (this will save your initials a million times in one day). Once students finished a couple of questions, they could come to me to check. I told them they had to have 5 questions completed on the worksheets or have one of the speaking prompts ready to go. If they were all correct, they got a stamp on their paper (made grading easier when I chose which one to grade) and they got to go draw a line. They could NOT draw a line until they were all correct. If even one was incorrect, I sent them back. This infuriated some, as I wouldn’t tell them which was incorrect. It made for some great group work though! They were ALL engaged and trying to win another line!

It was fun, engaging and they learned and problem-solved a LOT! Win-win.

I hope this helps with some ideas for teaching these required vocabulary sets and/or topics while keeping lessons focused on communication!

Happy Teaching!

Alana

Find me on Instagram (@SraKSpanish) , Facebook (sra k Spanish) and Follow my TpT store as I build more resources!

Have some digital fun! …or make manipulatives!

Hey there! It has been a while since I have posted. It has just been…quite a start to 2022. I hope you are all getting into the semester and finding your groove.

I have an activity that may be fun and can be adapted. I did this with my students last week in my Spanish classes AND my ESOL class and it was a HIT! So, of course, I will be making more. For now, I will share THIS one and how I used it.

I created THIS slideshow. I gave each student a copy of the slideshow through our LMS (we use Schoology, but you could do this with Google Classroom or Canva or whatever you use).

First, we reviewed the items on the last slides (the moveable parts). We practiced describing them by color, size and name. It was a great practice! Then, I had them open their copy of the slideshow. We chose a room and then I covered my projector. I called out the item and where to place it in the room. (We have recently covered prepositions of place.) After about 5 items, I revealed my room and had them look and see if theirs was the same. We did this a few times with different objects. Then, I had them partner up and create a room and a script of sentences. I only gave them about 5 minutes. Then, as time allowed, I had students come up to my computer and do the same thing for the class. They loved seeing if they could stump their friends.

This could also be used as manipulatives! You could print the blank room slides on paper and laminate them or put them in page protectors. Then, you could print the objects and cut them out and laminate them. this would allow students to move them around. I think this would be especially fun for the littles, but I know my middle schoolers would love it too.

I hope this gives you a fun activity to do and some ideas about how to use these. I will have more for sale in my TpT store in the next couple of weeks. For now, I hope you enjoy it!

Happy Teaching!

-Alana

Find me on Instagram (@SraKSpanish) and Follow my TpT store as I build more resources!

Get Them Talking! – A Listening/Speaking Review Activity

In the district I teach in, we have some required topics and vocabulary. This doesn’t always mix easily with the world of CI. I have found, through my work with Tina Hargaden, that it is possible to integrate required lessons/topics/vocabulary and still make lessons based in communication.

So, how do I do that? Well, one thing I do is follow the curricular framework presented in Tina’s book, Foundations. There are six cycles of instruction, and those really help me frame every lesson and keep a structure, yet still have flexibiity.

Recently, I had to teach house vocabulary. After introducing the vocabularyThis, I created THIS activity for us to do together. I incorporated a section for us to do together, a listening activity and then an interpersonal communication opportunity for students where they practice listening and speaking with a partner or group. This could also be done virtually by having students submit a video of them talking through their “casa.”

HERE is a Loom video I recorded explaining how I used this resource. Although it is in Spanish, you can absolutely put text boxes over the words (there are only a few) in your language.

I hope this helps with some ideas for teaching these required vocabulary sets and/or topics while keeping lessons focused on communication!

Happy Teaching!

Alana

Find me on Instagram (@SraKSpanish) and Follow my TpT store as I build more resources!

Following Simple Directions – Around the House

I am beginning to prep for the next semester and using this time off to create some fun, fresh new resources with that “old school” kind of feel to them. Sometimes, the quick, easy things really help keep class moving.

After talking about houses, looking at pictures of different rooms inside the house (there will be more resources you can find on my TpT store in January), I would give students this page. We could do it together OR they could work with a partner or in small groups OR students could try it on their own. Then, I would have students use this as an example and then have them draw their dream house on the other side of the paper, labeling the rooms and, depending on their level, putting things in the room to support the room.

This is only one level. I do plan to have at least one more level and a digital version with moveable parts in a pack on my TpT store, but I wanted to share THIS free English and Spanish version in hopes it helps you build a lesson that fits well in your teaching context.

HERE is a link to the English and Spanish PDF

Happy Teaching!

-Alana

Find me on Instagram (@SraKSpanish) and Follow my TpT store as I build more resources!

Following Simple Directions – “Do you want to build a snowman. . .?”

I am starting to think about coming back from the break… I know, I know. It creates a little anxiety. What I am feeling this year is that I need to be a little easier on my students AND myself. So, in doing some healthy self-reflection, I have realized what that looks like for me, personally.

Going easy on my students AND myself is remembering that not every activity, every practice has to be catchy and new and fancy. Maybe, just maybe, we need a little bit of the good old days…

In that spirit, I created THIS activity in English AND Spanish. It is part of a bigger pack of a “Following Simple Directions” group of activities. The first part of the series, this Snowman activity, is already up on my TpT store in Beginner, Intermediate AND Advanced versions. Follow the blog to get updates about the rest of the series of activities.

You can find the PDF version in the paragraph above this in the link.

In the product on TpT, there will be another level up to make it more challenging and focused on using commands for upper levels, but I hope this might be an easy, short activity to get everyone all back in the groove when we all have that hard return to classes.

Hope this is, at least, a fun thing to keep in your back pocket for a simple activity that can be printed or put up on your digital classroom.

Follow this blog for more great, free resources! Find me on Instagram (@SraKSpanish) and Follow my TpT store as I build more resources!

A Quick Winter Story Activity

As we count down to the Winter Break, these students are getting ANTSY and teachers are getting TIRED! So, I created THIS short story activity. The example is in English, but you could use this for ANY language.

There are LOTS of possibilities with this assignment. I created a Spanish version and a Beginner Version of both English and Spanish already done for you in my TpT store, but you can totally do this on your own.

For beginners: Give them sentences already written and have them put them in order. OR, have them describe the people and places by listing words and labeling the things in the pictures.

For intermediates: You can scaffold by giving them some sentence starters or a word bank and having them write sentences for each box. You could also have them do the beginner activity and then level up by having them add more sentences to the story.

For advanced students: You can have them do all of the above. You could have them describe the boxes one by one to a classmate and have the classmate draw what they hear. You could have them complete the above as a mentor text and then have them create a story of their own using the example.

So many variations! I hope this might help at least keep your students engaged and working for at least one class period!

Don’t forget to follow the blog to get more freebies and activity ideas!

Happy Teaching!

Follow this blog for more great, free resources! Find me on Instagram (@SraKSpanish) and Follow my TpT store as I build more resources!

Getting My Students Moving and Learning!

Sometimes we just need to get the kids up and moving. This week was one of those weeks for me. I am not sure about you all, but this is generally a super LONG stretch of school. This year, even more than in years past, kids are restless.

So, what did I do this week? I did my own version of a running dictation. I have seen this from lots of amazing teachers, so it isn’t an original idea or anything, but it is something that I have cobbled together AND works for all levels I teach.

Teacher Prep:

  1. Find a short story (or write one based on shared writing or something you have done in class) at the level of your class. Print it out and cut it into sentences. For upper levels, you may have 3-4 sentences per piece. For lower levels, you may have just 1-2 sentences per piece. Make sure you have two more pieces than groups. So, if you have 6 groups, you need 8 pieces. (If it is available, you can print it out on a different color paper for every group you have. I do this with my rowdy classes so they think that everyone has a different story and don’t try to share with friends. I teach middle school currently, so sometimes this is needed.)
  2. Draw out cartoon boxes to match the number of pieces of the story you have. If your story has 8 pieces, you draw 8 cartoon boxes. If you have 10 pieces to the story, you need 10 boxes. Number them. Make two copies per group.
  3. Cut the pieces of the story and tape them up in the hallway. Do not number them. Do not put them up in order.

In class:

  1. Put kids in groups of 3-4 (depending on class size).
  2. Explain the jobs. The scribe is obviously writing, the motivator roots on the team and makes sure they are all doing their part, the messenger is going to the story pieces and the illustrator is drawing. ** If you have groups of 3, the motivator position can be shared by the illustrator and scribe.
  3. Explain the goal is for one student to go into the hallway and find a paper and read it. They must come back and tell the scribe IN the class language. It may take several trips to the paper in the hallway. That is okay.
  4. Then, the illustrator must illustrate the sentence (s).
  5. Once that has happened, everyone rotates roles and students continue in this fashion until they have filled in every box.
  6. Finally, they work together to put the story in the order they believe it should go on the second piece of paper and create a final copy.
  7. When this is done, they can turn it in to be graded or, if time permits, they can check and go back to fix it after feedback

This can be a 1-2 day activity, depending on the level of your students. Hope this gets everyone up and moving…and gives you a day or two of rest while they get lots of input and practice!

Happy teaching!

Follow this blog for more great, free resources! Find me on Instagram (@SraKSpanish) and Follow my TpT store as I build more resources!